Monday, September 26, 2011

Behind the Bag: Vintage Inspiration

Whenever I am in need of some inspiration I like to browse unusual places for inspiration. One of my favorite places to go to inspire that little spark of an idea is the vintage clothing section on Etsy. Here are a few purses that I have sewn and the vintage item that inspired it.

First, here is a dress from LuckyPennyWares on Etsy.
I thought that the gold fabric covering the bust is just fantastic. I mimicked that same effect with gathered gold lame on this black velvet handbag:
And here is another dress from that same Etsy seller (both dresses are sold now, sorry!)
I loved the fringe and wanted to make a fringe bag like this. However, a bright yellow fringe bag would probably have a very small appeal, so I did it in classic black:
And finally, I can't find the link to the dress that inspired this purse. It was a blue halter dress with lots of ruching.
And the back:
It's been awhile since I searched around for vintage dresses for ideas, since I have a notebook bursting with ideas for purses. But this week is Purse Week at the blog A Lemon Squeezy Home and I'm trying to decide on the perfect design of a purse to enter. I've already entered one, and I'm trying to decide whether I want to enter a bag that I've already made or make a new one for my second entry. I've only got until Friday!

Saturday, September 24, 2011

Non-Etsy sewing

I thought I would share some of the non-shop sewing that I have done in the past few months. I've got a constant list of projects to work on. Currently I am working on a fall jacket for myself and in the next few months will be making a quilt for my son's 2nd birthday and some dress shirts for my husband.
I had two baby showers to attend in one week so I saved time by making the same gift for each baby: a mini soft color book and a small blanket for each. For the blue one I tried out the faux chenille technique for the first time.
This is a picture of the top of my bedspread. It's actually still not finished, but I have bought the backing and batting, I just need to sew it all together.
I followed an online tutorial and made my 3 year old this dress out of old t-shirts.
I just made this tie for my dad's birthday. I also used covered buttons and my husband's old ties to make some cufflinks.
I used the Urban Unisex Hoodie pattern (from heidiandfinn on Etsy) to make these two hoodies for my kids. I made them reversible.

And here is my latest, yet saddest creation. I am making myself a fall coat but adult clothes really aren't my specialty, so I dove right into the pattern without taking the time to create a mockup. I tried on the coat and realized it's made for someone with a torso at least 8 inches longer than mine! It's supposed to be hip-length. I am 5'1" and short-torsoed. Also, I trusted the measurements on the pattern envelope and this coat is giant on me. My mother-in-law is helping me today to adjust it. It has the potential of being super cute, so I hope it works out!

Friday, September 23, 2011

I've been featured!

I'm the featured seller over at the blog of my purse frame supplier. Thank, Rosie!

Sunday, September 18, 2011

Custom order round up

The sad thing about Etsy is that you don't have a way to display the final products for custom orders. I had a few custom orders lately that I wanted to share.
First, the finished product from my last post. The inside is also embroidered with the bride's name and wedding date. I won't go into the complications involved with my embroidery machine, but let's just say it was quite the feat for me!

Next is actually not a custom purse, it was an experimental one. I saw a throw pillow at the store that inspired this purse. It ended up being quite complicated and with the crooked sewing lines, etc, I decided not to sell this one. I used a slightly dented frame too. Not sure what I'll do with this one, but it's fun to look at! I don't know if I want to make another one like this; it's quite time-intensive.

This last purse is another bridal order. The front pintuck purse was one already in my shop, and the bride wanted the two woven purses in the back. I made them out of the same crepe-back satin that the first purse was made of, and I found a lovely grey moleskin fabric for the insides. It's super soft to the touch.

So there's the custom order round-up!

Monday, September 12, 2011

Experiments in Fabric Dyeing

I had a bride request me to make her a bag like this one which is in my shop banner.
Well, this bag was a one of a kind bag, so I couldn't do the same thing again, but I was able to customize it for her wedding colors. She asked me if I could make this bag in yellow. Well, truthfully, this fabric only comes in white. But I didn't let that stop me. I said, "Sure!" I ordered more, picked up some fabric dye, and proceeded to try my hand at dyeing fabrics for the first time.
I used my washing machine and RIT dye. I've heard that RIT dye doesn't do vibrant colors very well, but the bride wants pastel yellow, so I figured it wouldn't be a problem. I was worried it would dye too dark, so my backup was to use tea to lighten the color if necessary. I've seen other people do that.
Well, the first watch ended up quite dark. Definitely not pastel! So I decided to only use a capful of dye with the second piece of fabric. Much better!
And to see the difference:
The bride's colors are yellow and gray, so we picked out a flower together on Etsy. My expertise with flowers consists of circles of fabric with singed edges and a button on top, so I thought we'd pick up something more fun.
It's not the finished product, but I think this gives a good idea of what the purse will look like. I'm definitely happy with it! And this opens the door to other personalized purses.

Wednesday, September 7, 2011

New "studio"

I completely ran out of room with my previous sewing area configuration. When you first walked into our apartment, my sewing stuff took up the entire wall right next to the entrance. So last Saturday I went to Target, picked up another set of cube storage shelves, some metal storage shelves, and then a few night ago I picked up the board to create my new cutting/work table. I moved all the living room furniture to one side of the room, and all my sewing stuff to the other side.
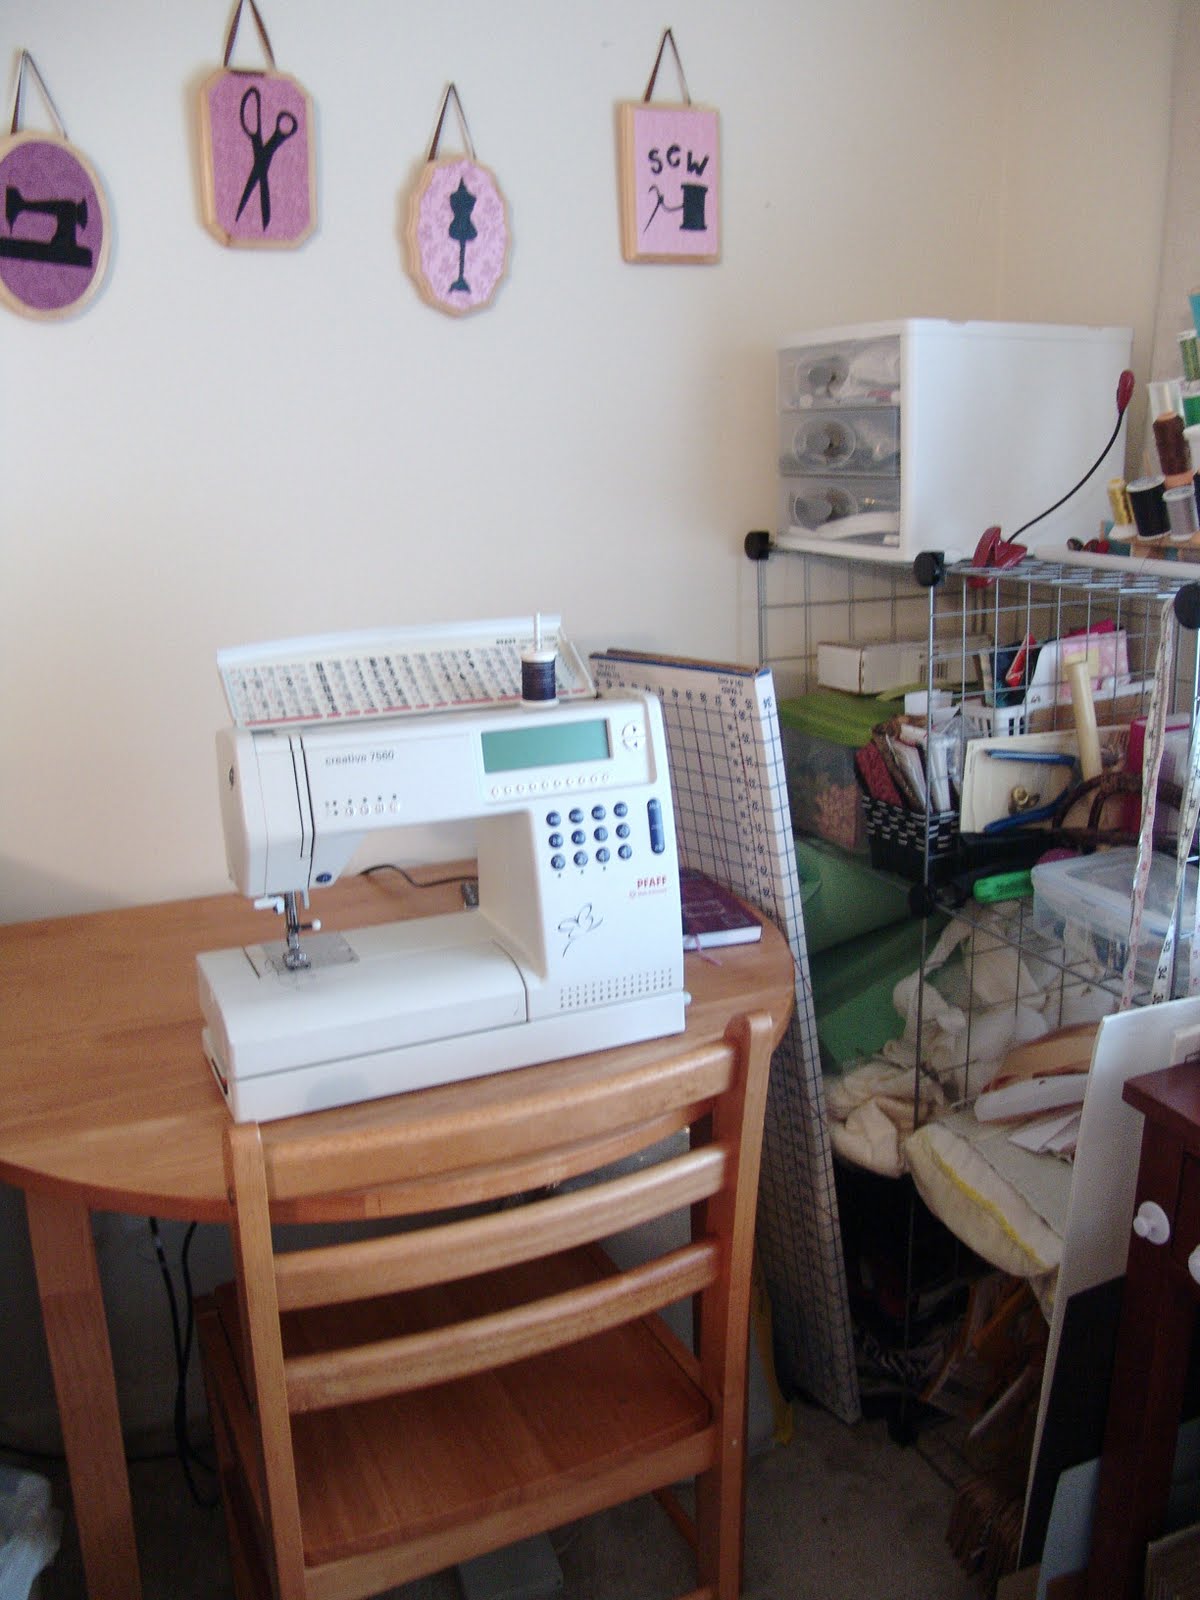
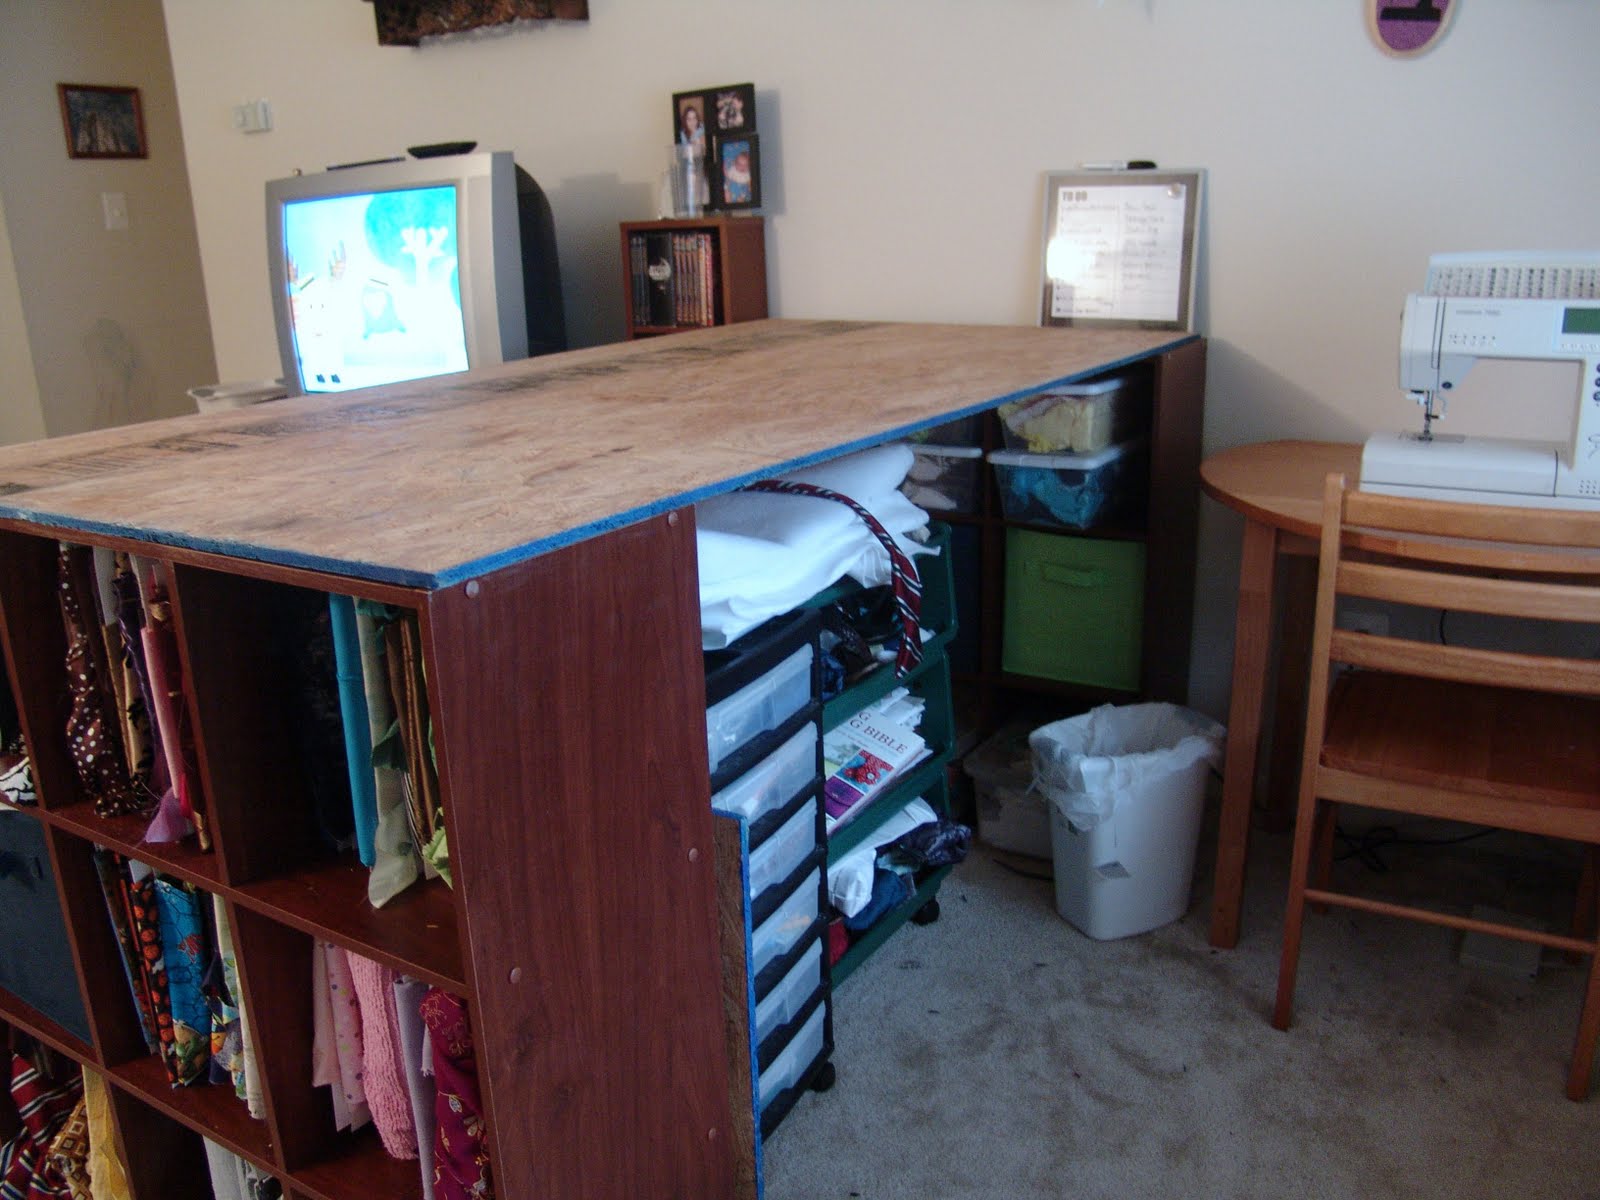
I still need to paint the board, but otherwise my sewing nook is now finished!
This little table was previously where I cut out everything. Now it's my shipping area and place to store works in progress. It also is my new little photo area.
I'm so happy I bought these wire shelves too. All this stuff was stacked haphazardly before or stuffed into corners.
And the really nice thing about this table is that I can store things underneath it too. It has two rolling storage shelves for patterns and other various things. My old sewing machine and embroidery attachment are under there too. That back shelf has mostly my fabric scraps, but also leather and old clothes for upcycling purposes.
I also bought myself a white board for my to-do list. The left hand side is for my shop, the right hand side is non-shop stuff.
And here is my oldest, who loves my new sewing room, as she calls it. She also is happy that there is just enough room under the cutting table for her to walk under.
I also fit all my inventory into another set of shelves, but it is getting quite squishy. I'll need to find more space to store purses because I'm intending on increasing my inventory this month to over 100 items in preparation for the holidays!